Label Accounts | Setup Tutorial
In this guide, you will find all necessary steps for a smooth setup of the label accounts.
⏱️ Time to set up:
Less than 3 minutes
🔑 Key Benefits:
- Central management of all artists & campaigns in one account
- Central billing of all artists & campaigns with one billing address
- Switch between artist profiles with 1 click
Content:
- Error Prevention
- Step 1: Start
- Step 2: Appoint the super admin
- Step 3: Email confirmation
- Step 4: Your function as manager and super admin
- Step 5: Add company/ label
- Step 6: Add your company billing info
- Step 7: Activation
- Step 8: Add your Spotify profile
- Step 9: Ready-to-go
- Step 10: Manage teams and team members
- Step 11: Add your artist roster
- Step 12: Campaign creation
- Step 13 (optional): Switch to your "original" email
Error prevention (please read) 🚨
- Only the very first account that creates the label account becomes the Super Admin. Only this account can edit the billing info of the company!
- All label accounts will be activated manually by SongPush after successful registration. In case of urgent requests please send a quick email or WhatsApp directly to Stefan or Markus or to campaigns@songpush.com or info@songpush.com)
- Please DO NOT use an email address for the setup of label accounts that is already registered on SongPush! (See step 2)
- All team members who are invited to join a team must:
a) have a unique email that is not already registered on SongPush.
b) must not be logged into another account when accepting the invitation
Step 1: Start 🛫
Start the label account setup here: app.songpush.com/registration

Step 2: Appoint the super admin 🔑
- Important:
The account with that the company is initially registered automatically becomes the Super-Admin of the company and has full rights (member management, insight into all campaigns etc.). Therefore, please select an e-mail address or a person for this, that should act as the Super-Admin for the company! - Please select an email address here that is NOT yet registered on SongPush. After the successful creation of the label account registration, the e-mail address can be replaced by the "old" already registered address via our support. (See step 13)
- Tip for choosing the e-mail address: Just create an e-mail alias with your existing one → johndoe+labelaccount@examplelabel.com mail | The added "+labelaccount" just creates an alias of your original email and you will receive all mails to this "new" address in your regular email inbox. A very few email providers don't support this format, so if you have problems with receiving the mail, please let us know.
- Finally, choose a strong password!

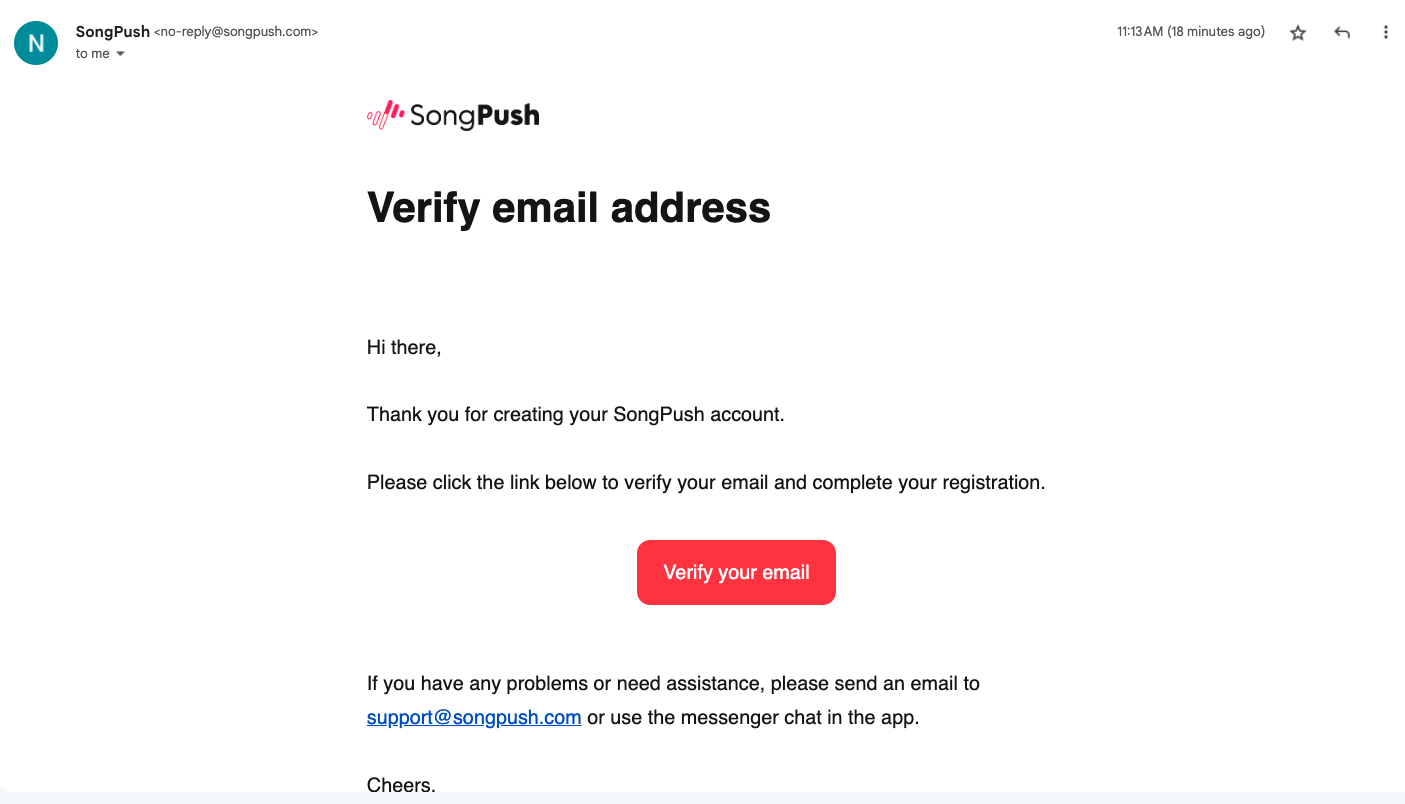
Step 3: Email confirmation 💌
- Check your inbox and confirm your email!
- If you used your original email address with the email alias format "+labelaccount", the mail should arrive in your normal mailbox 👍🏼
Step 4: Your function as Manager & Super Admin ✅
- Enter your full name and please select the position "Manager".

Step 5: Add Company/Label +
- Check if someone from your team has already created a label account for your company. If so, contact your colleagues so they can invite you to join the correct team. If you can't find your company, you can easily add it below!

Step 6: Enter your company info 🧑🏽💻
- Enter your company data & billing information
- At the bottom of the page you will find a separate field where you can enter your own billing email address. All generated invoices in your label account will be sent to this email automatically
- As the super admin you have the possibility to change your billing information and your billing email later on


Step 7: Activation 🔓
- Your label account has been successfully registered 🥳
- All label accounts will be unlocked manually by SongPush after successful registration. To speed up the process, please send an email or WhatsApp directly to Stefan or Markus or to campaigns@songpush.com or support@songpush.com

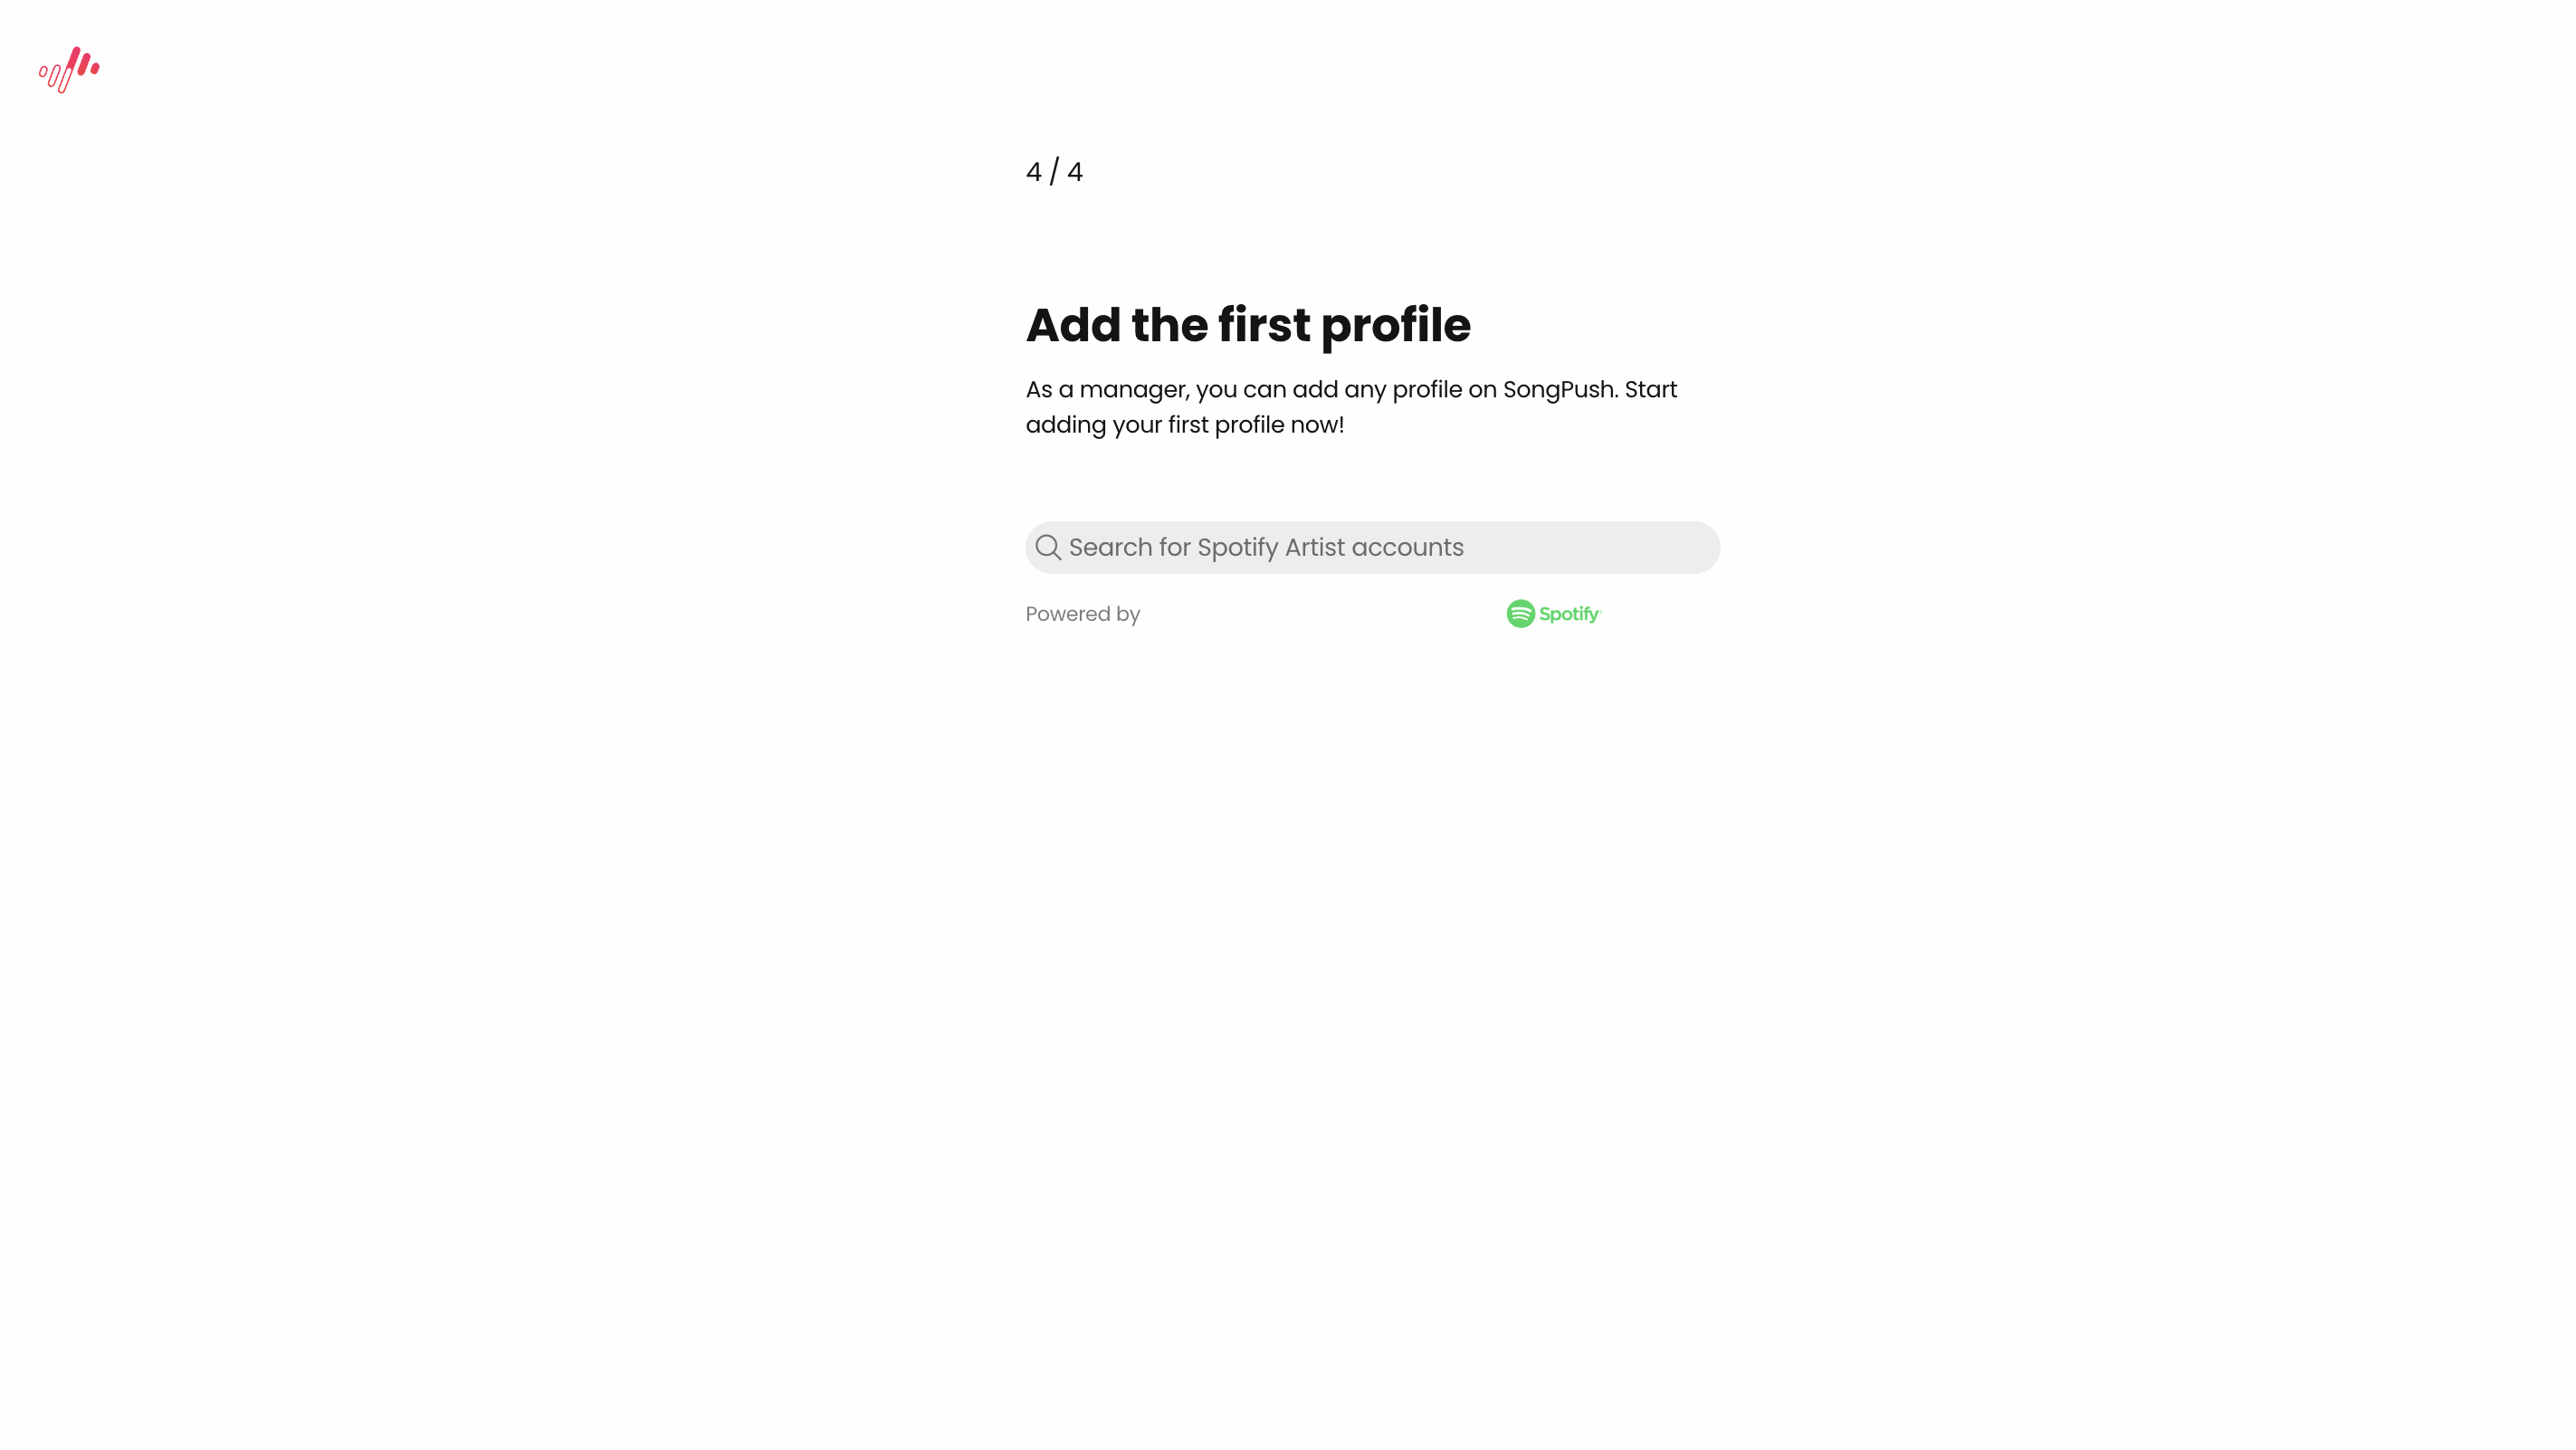
Step 8: Add your Spotify profile
- After successful activation, you can now add the first Spotify profile for your company
- Note: Later on, you can add any number of artists to the account and thus manage entire rosters
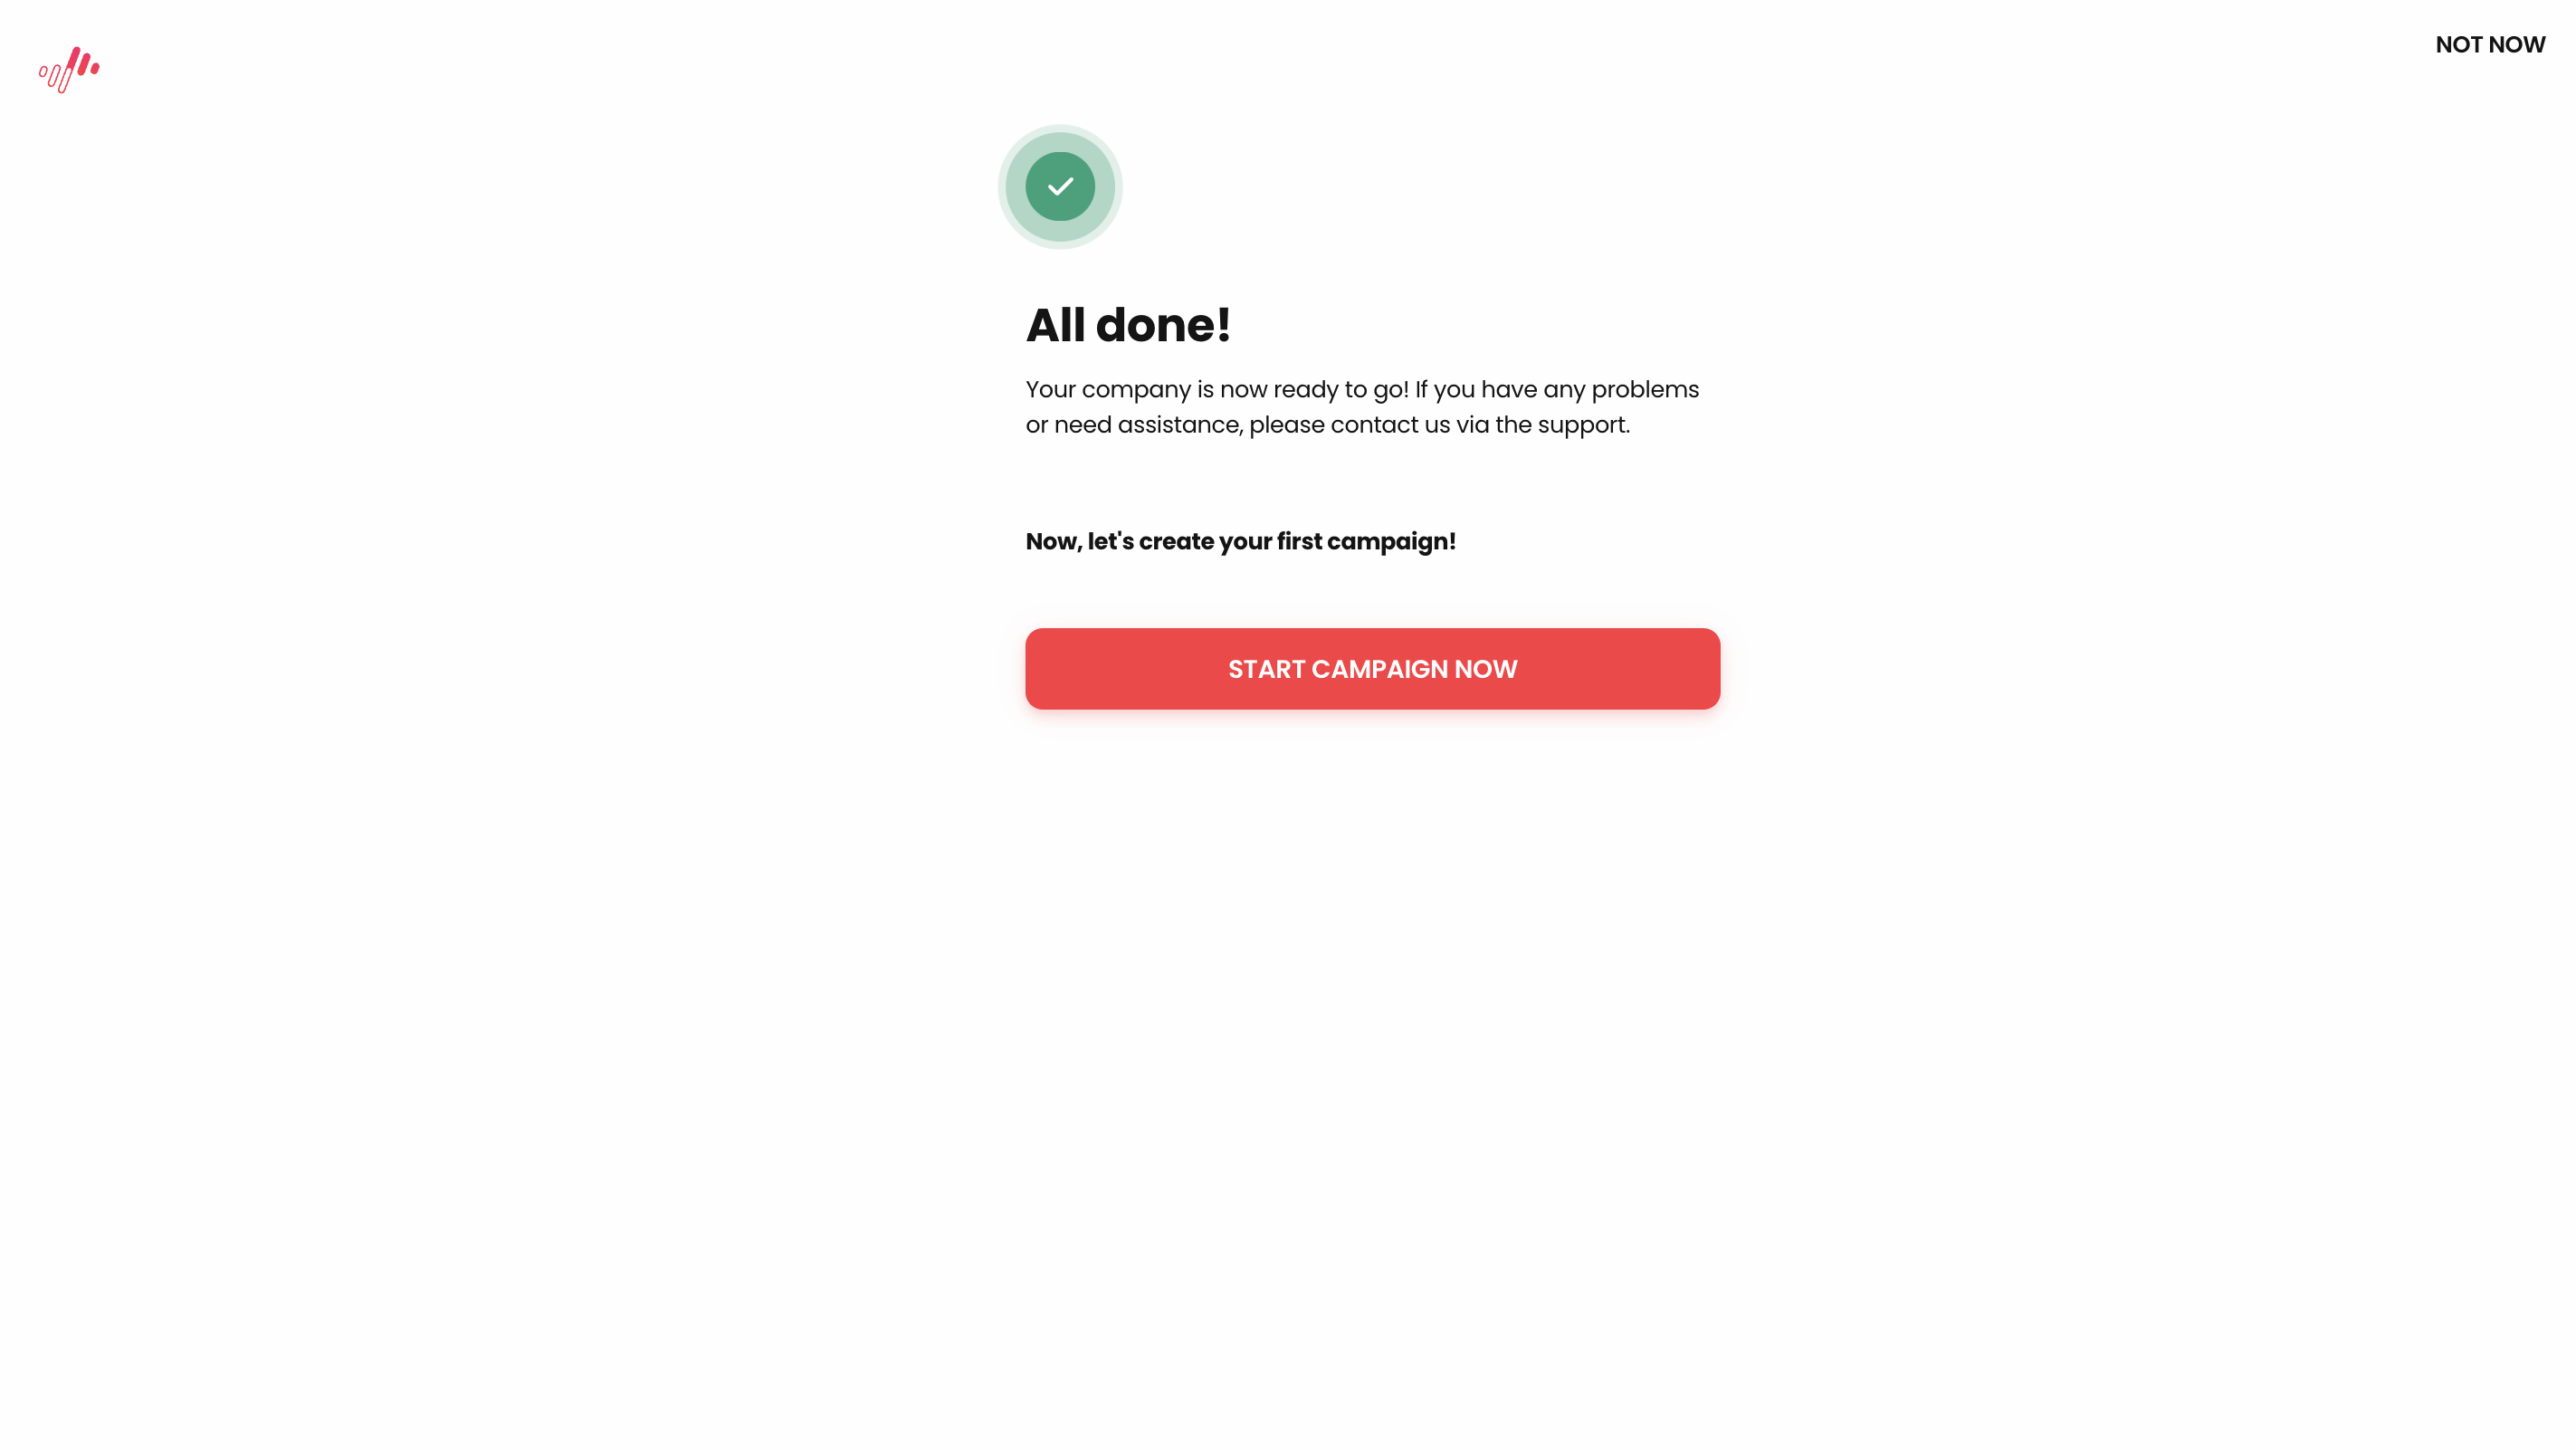
Step 9: Ready-to-go 🚀
- Great! Your label account is now ready-to-go!
Step 10: Manage teams and team members 😎
- First of all: Welcome to the new interface 😍
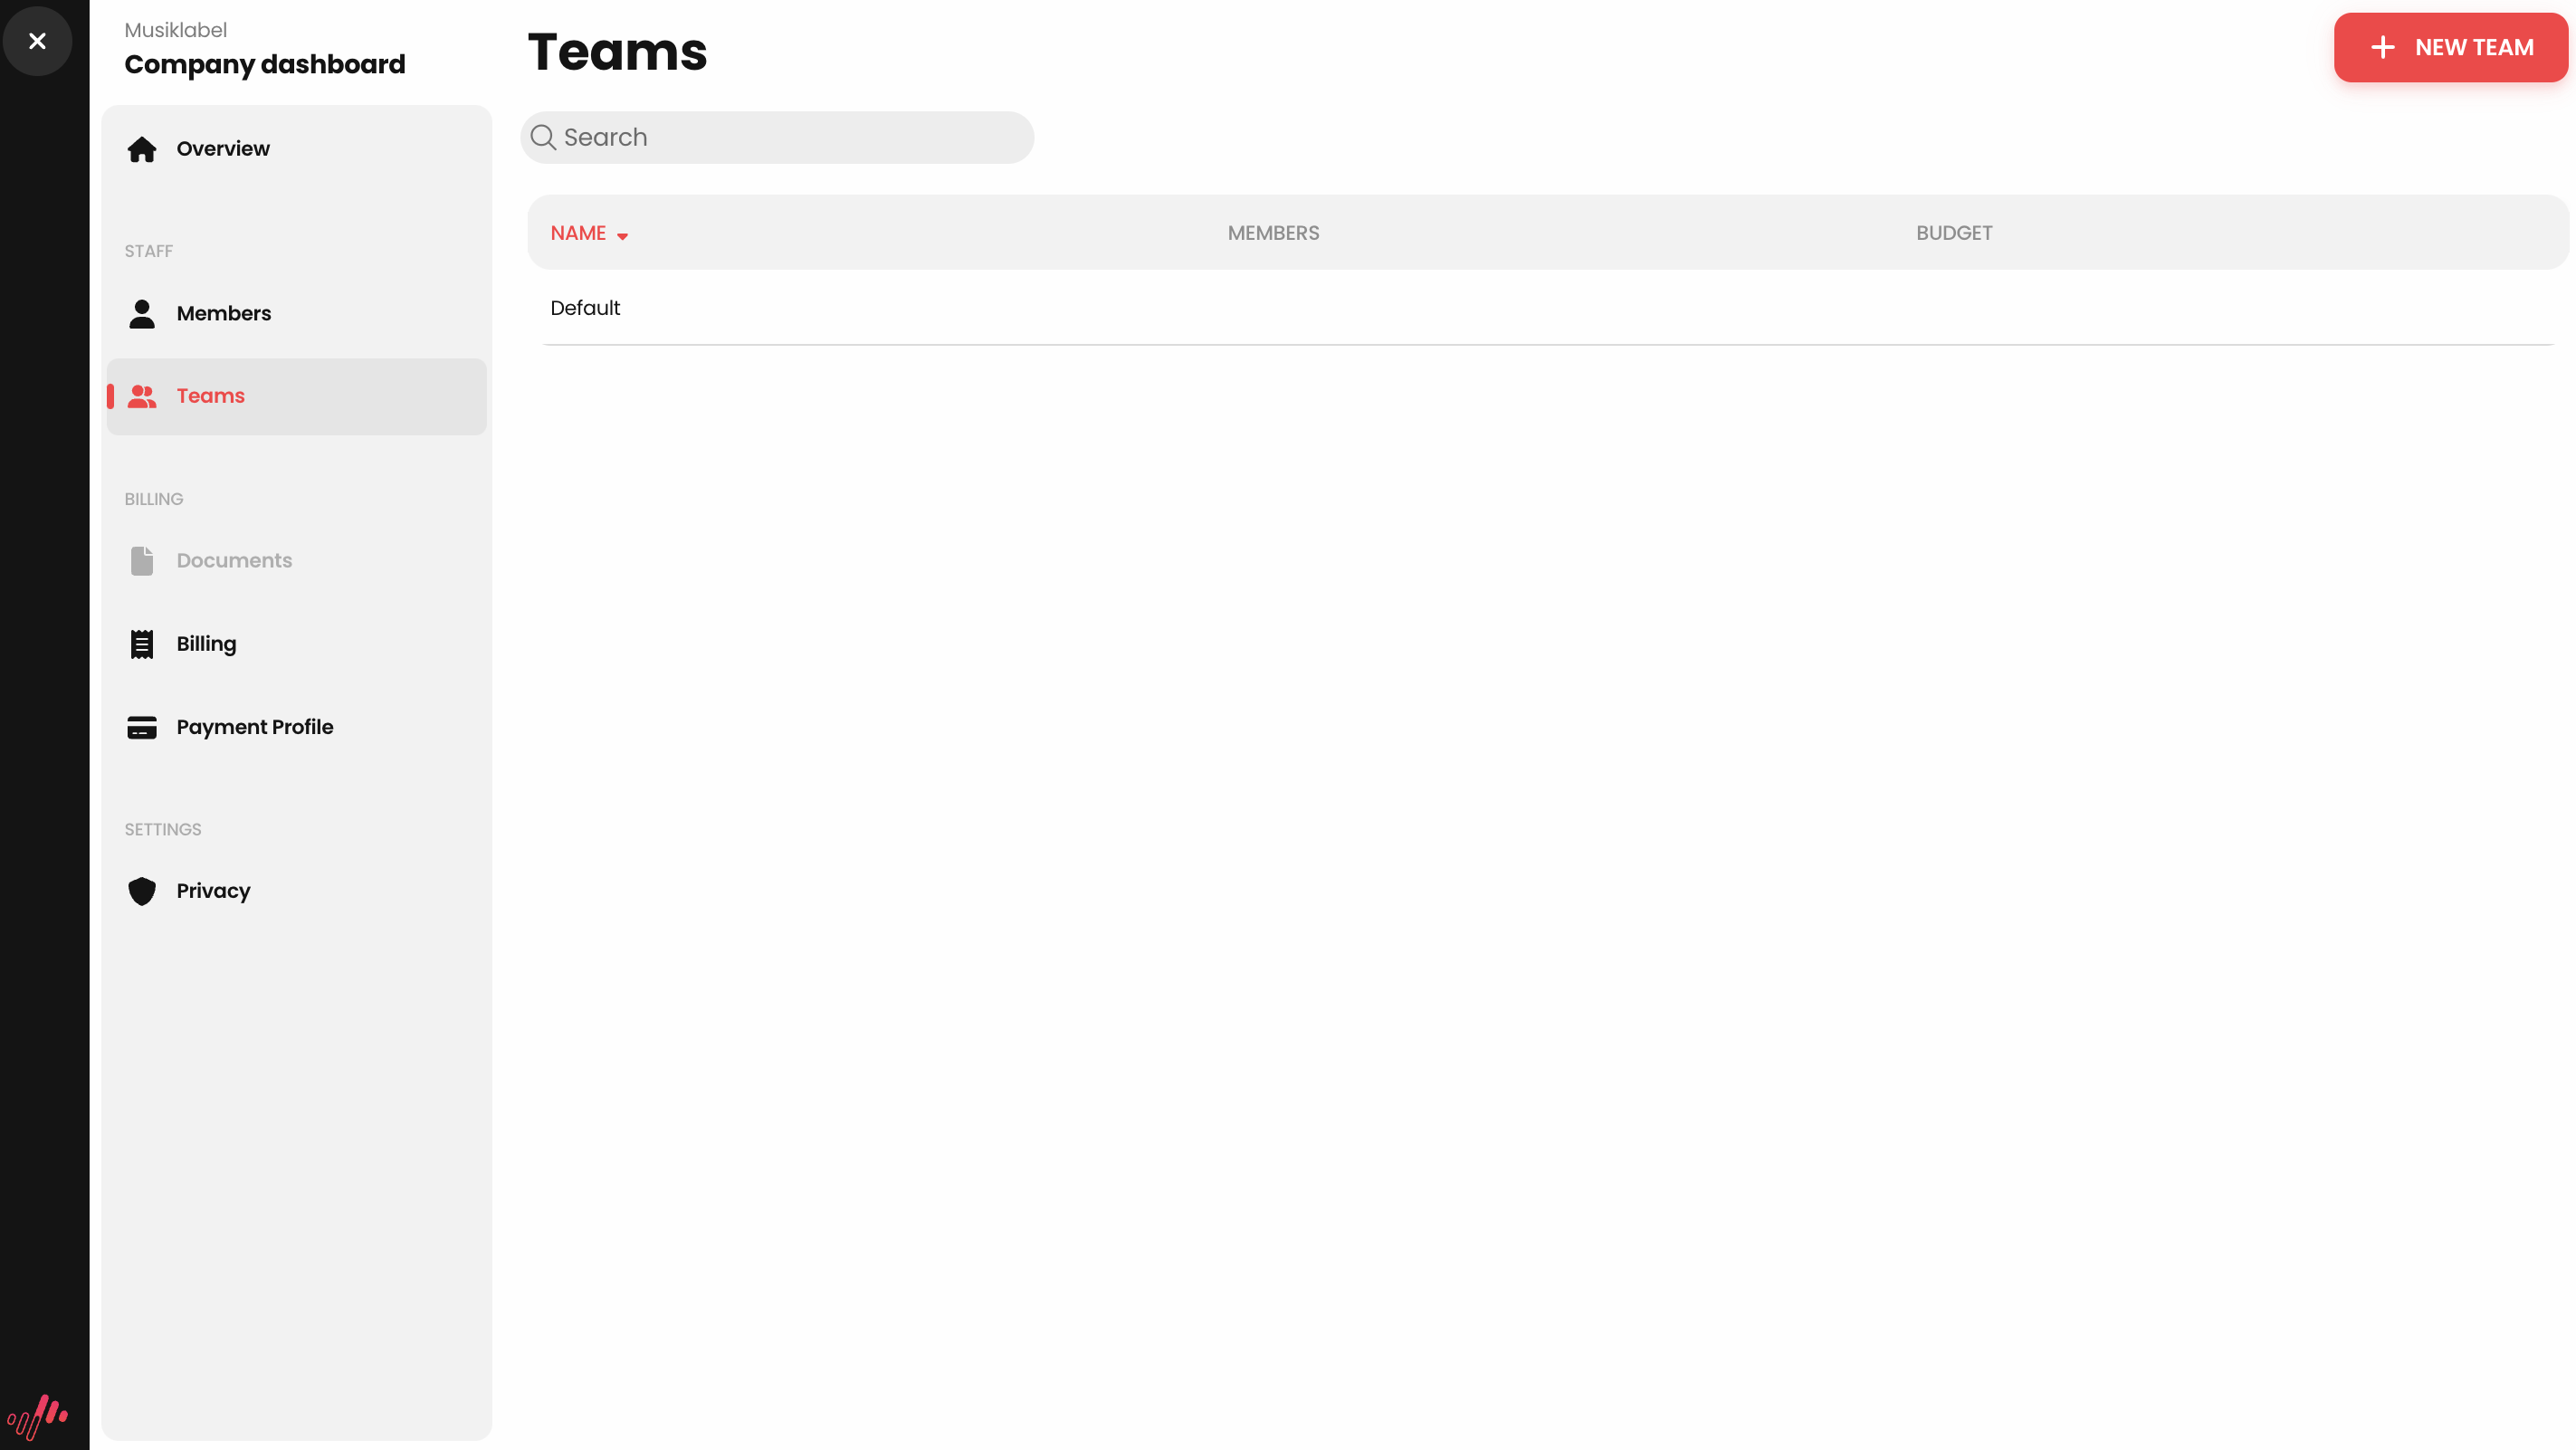
- When registering the label, a default team is automatically created for you and your company. Here you can create, view and manage all campaigns together as a team.
- When is more than 1 team needed?
- If you have several teams/areas within the label, which should not have access to a certain other roster or the campaigns from other teams, then you can easily create a new team for them. At the beginning, one team (The Default Team / Standard Team) is definitely enough for most labels for now!
- For clarity: A team member only has access to the campaigns that have been created in the respective teams and cannot view the campaigns of other teams, unless he/she is also a member of the team.
- Option: You can also create an individual team for an artist and only create campaigns for this artist in this team - if you want to give access to a selected campaign to e.g. external people (managers, promoters, artist himself).
- Important: All members you invite...
- ... must have a unique email that is NOT yet registered on SongPush
- ...must NOT be logged into a SongPush account when accepting the invitation.
- → It is best to use an email alias here as well, e.g.: firstname.name+labelaccount@musterlabel.com
- May not be a member of another company with the same email address
- There are 2 options for role assignment for team members:
- Administrator / Editor (Team) = Editor role in this specific team → Can create & manage campaigns.
- Manager / Viewer (Team) = Viewer role in this specific team → Can only view, but not create & manage campaigns
Step 11: Add your artist roster +
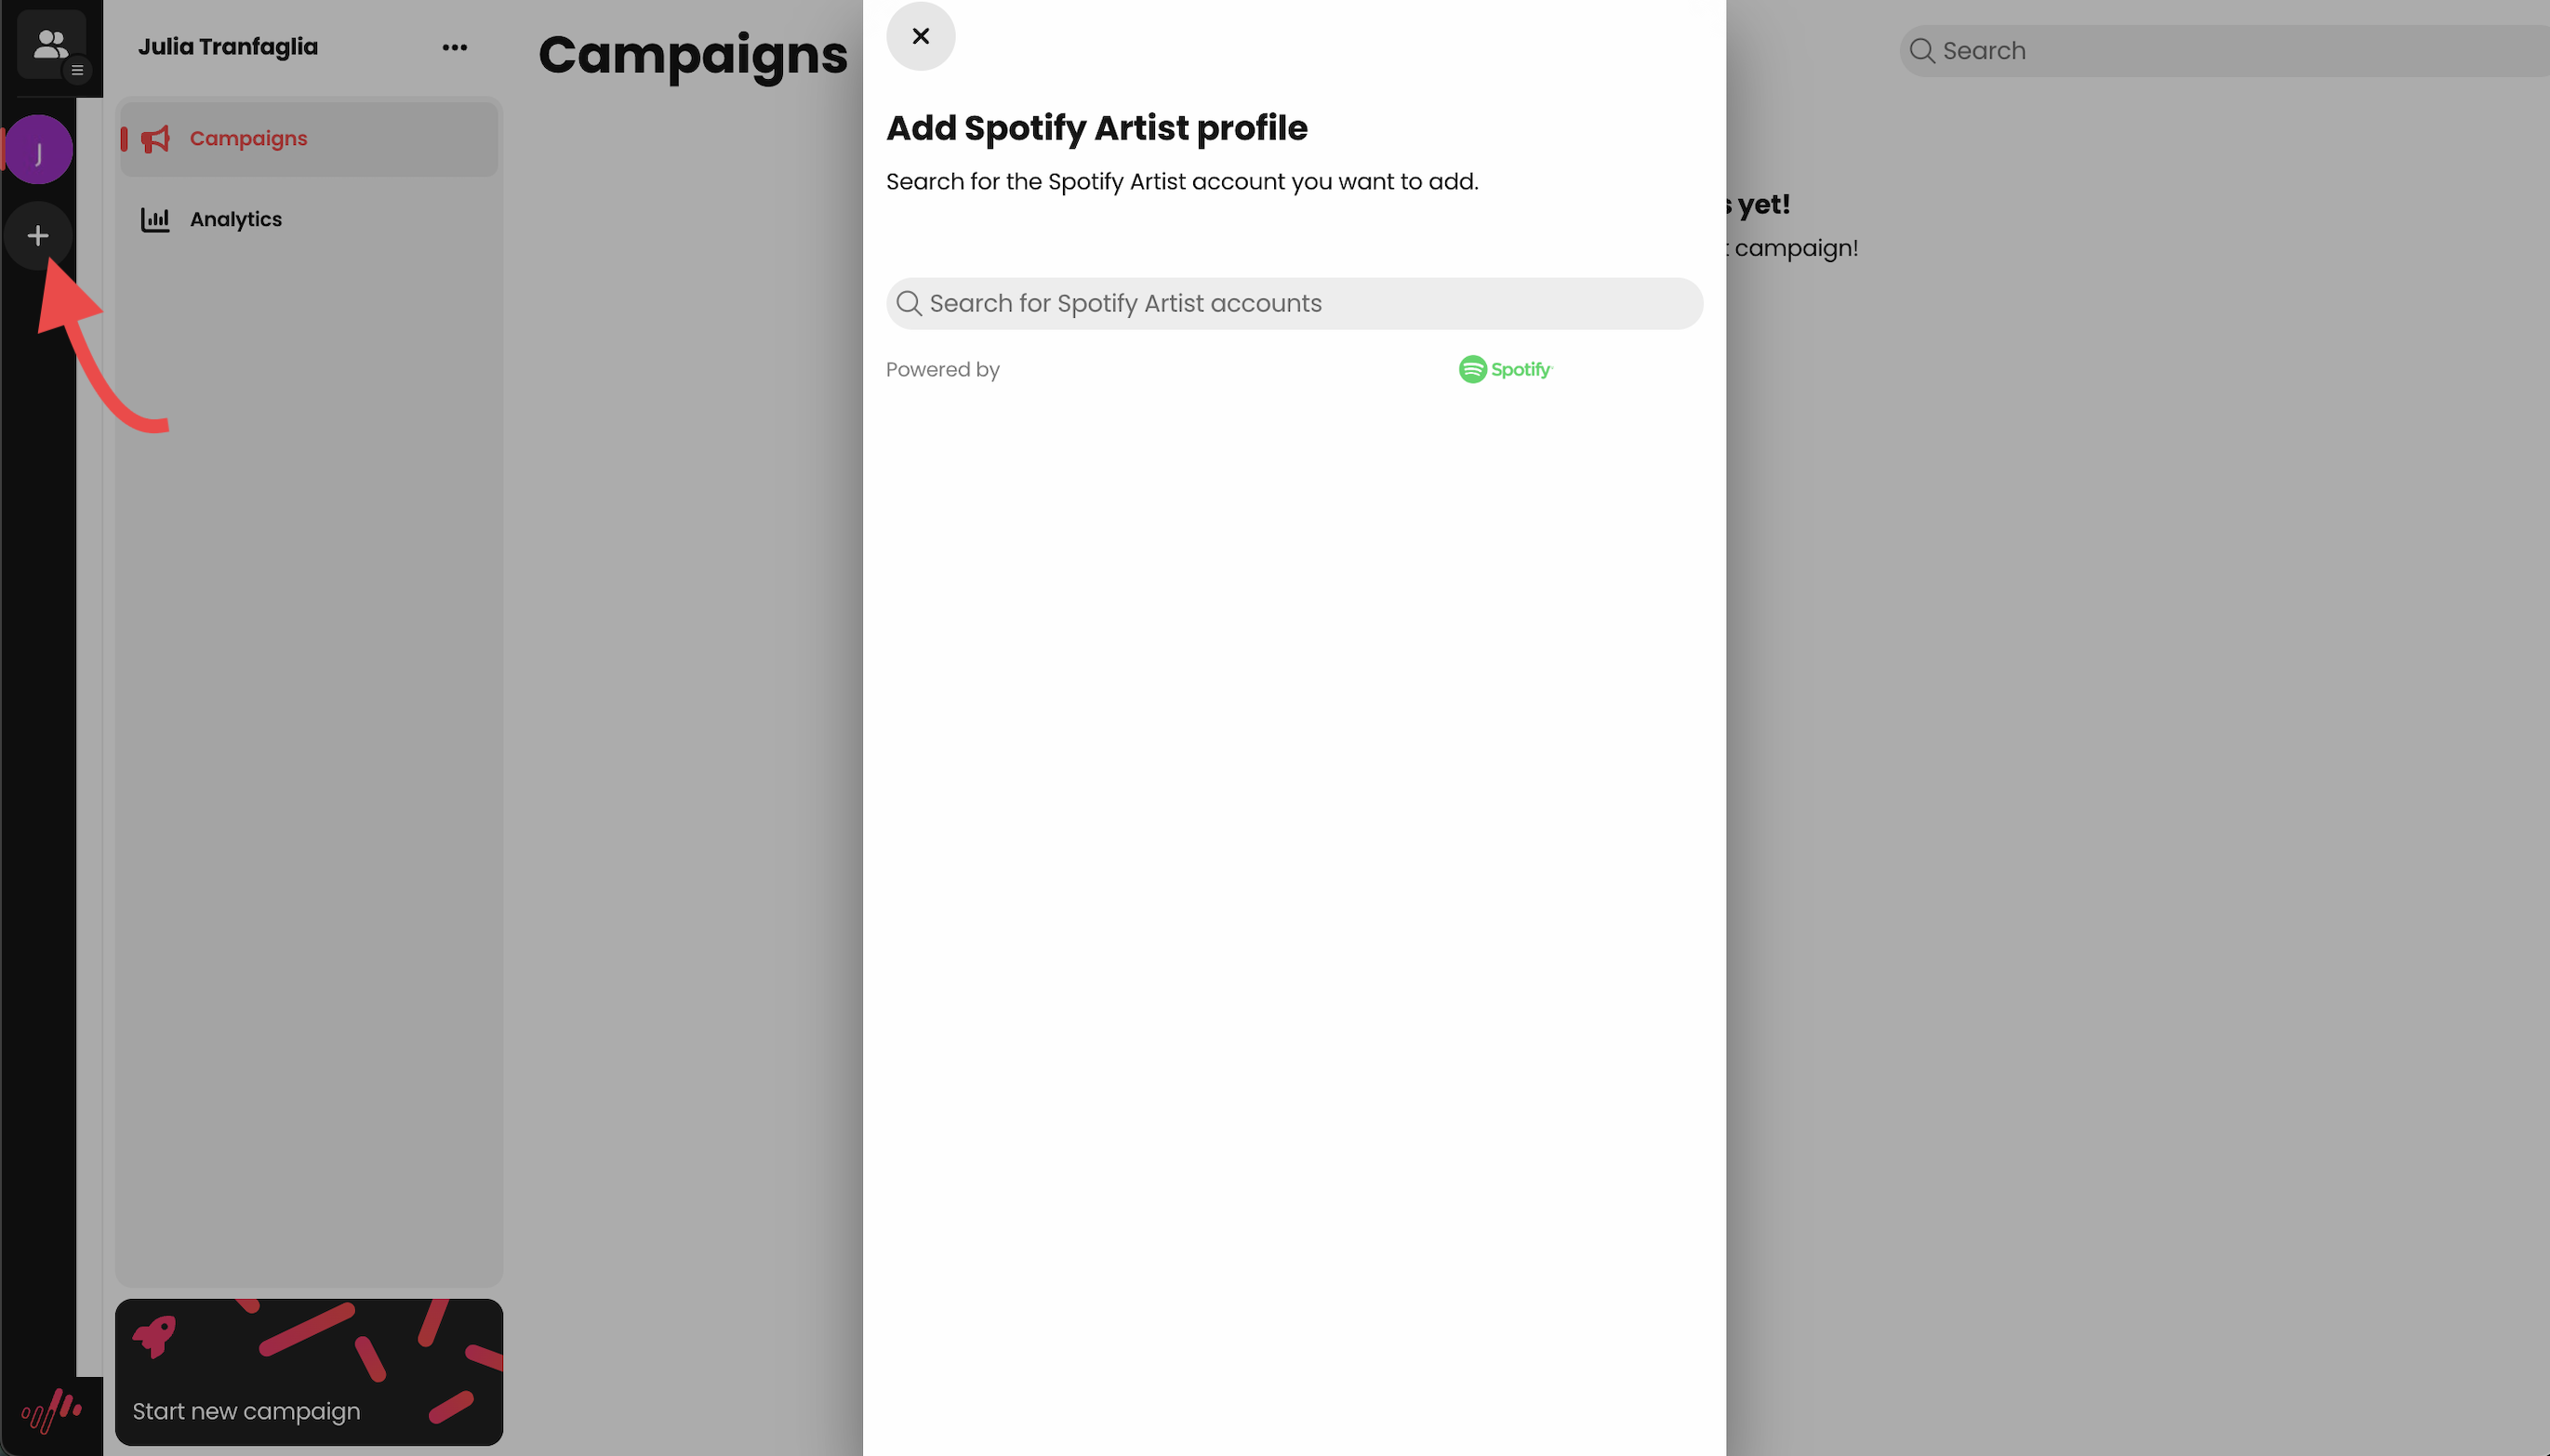
- Now, add all artists to your roster 👍🏼 By the way, you can add as many artists as you like!
- All new artists will be displayed in the sidebar on the left after adding and you can switch between the profiles with one click 😎
Step 12: Campaign creation 📈
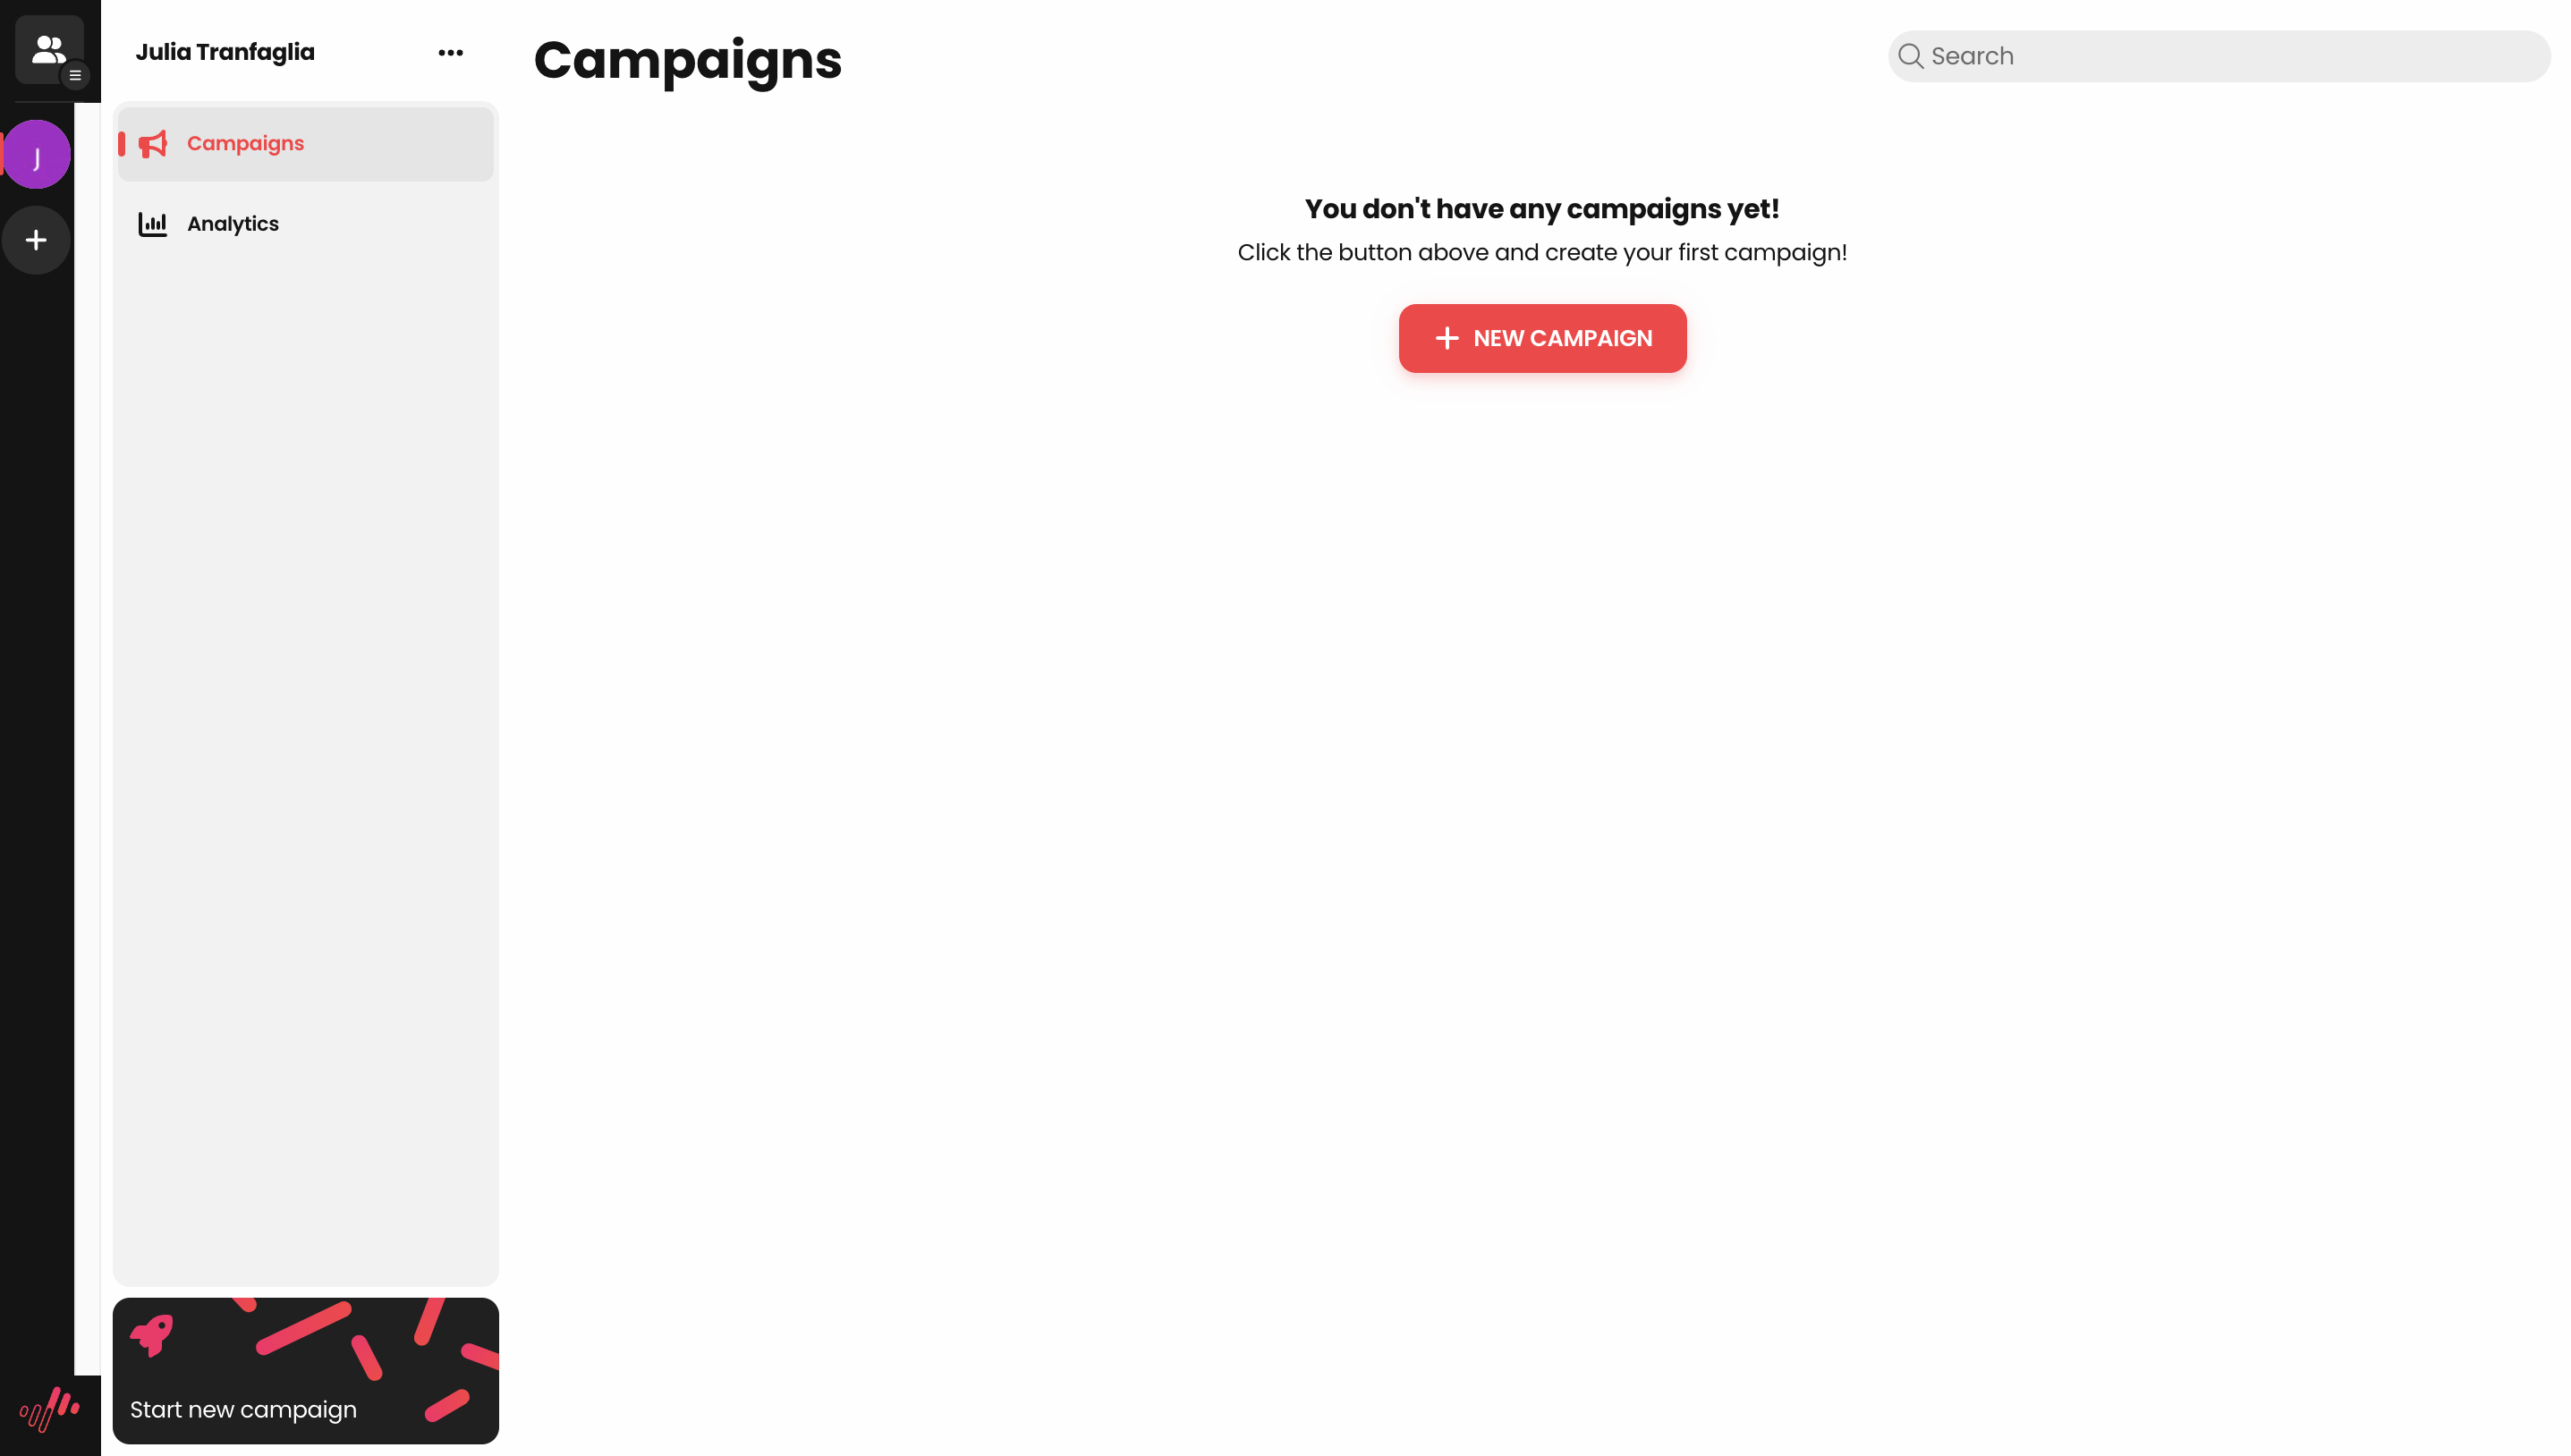
- Create a campaign in the respective artist account as usual!
- Team members can only see the campaigns that have been created in the respective team
- It is already possible and recommended to create campaigns with "Mandatory Briefings" for Creators. All participants of the campaign are then obliged to follow the briefing to receive their payment 🔒
- Important: If you want the price to be capped per creation -> please send an email to campaigns@songpush.com BEFORE the campaign is paid and goes live. The change will be implemented within 4 working hours at the latest. The feature will soon be adjustable in the campaign process itself 🔥
Step 13 (optional): Switch to your "original" email
- Your email address had already been registered on SongPush and you want to have it in your freshly created Label Account? No problem! After the initial successful registration and setup please write an email to our support team via support@songpush.com with the subject: "Change login email address"! We will then adjust it accordingly so that you can use your original email addresses in the label account!
Finally: Your feedback 😍
We would be incredibly happy if you take 2 minutes and give us your honest campaign feedback via the Typeform below! This is the only way we can improve bugs, expand the product and prioritize the right features 💪🏼
Click here or use the direct link to the feedback typeform:
https://songpush.typeform.com/to/BGFSzu6O
![SongPush Logos.png]](https://help.songpush.com/hs-fs/hubfs/SongPush%20Logos.png?height=50&name=SongPush%20Logos.png)